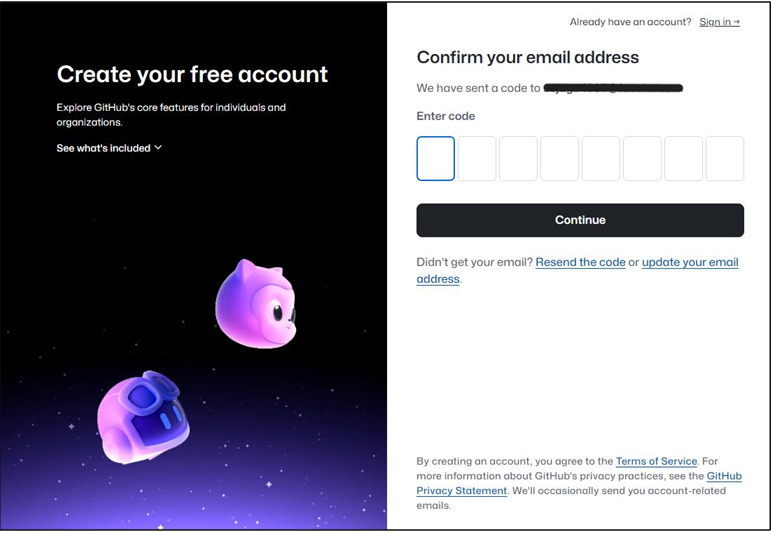
This guide provides step-by-step instructions for setting up new GitHub Account on Windows.
Note: The screenshots may vary from system to system
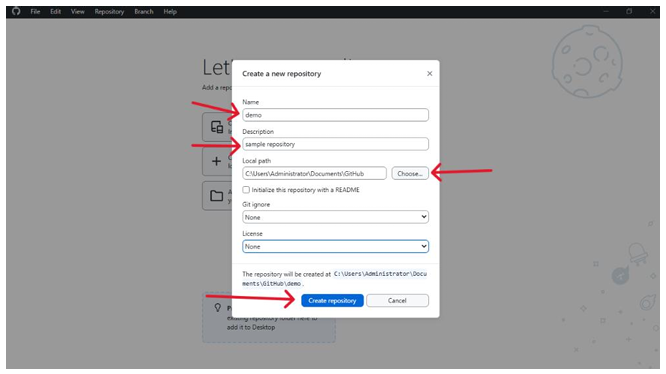
Follow the below steps to create a new account on GitHub:


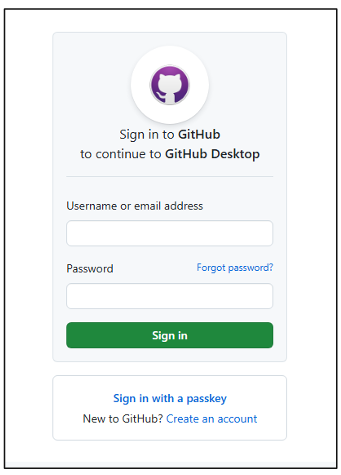
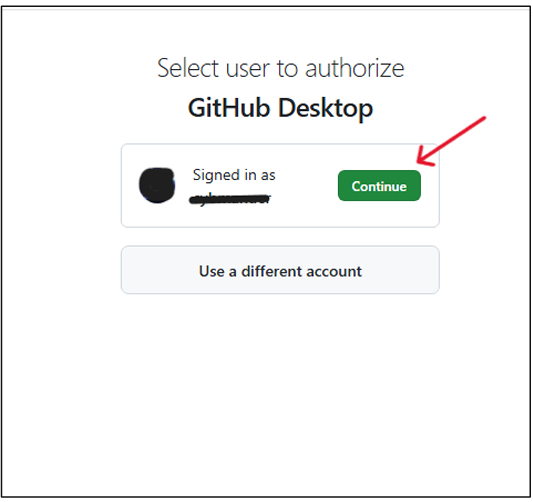
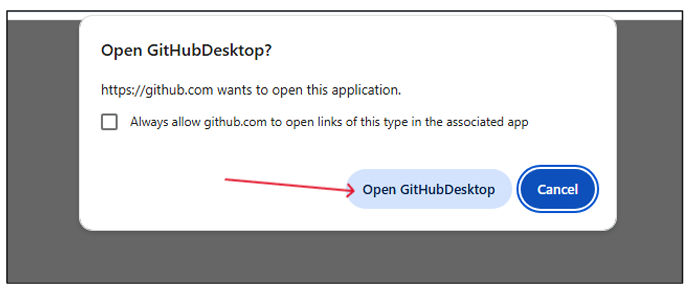
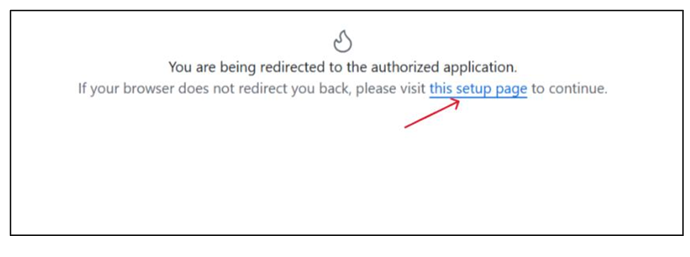
This guide provides step-by-step instructions for setting up GitHub Desktop on Windows. It is designed for beginners who want to start using version control with GitHub and GitHub Desktop through a simple and user-friendly workflow.
Note: The screenshots may vary from system to system


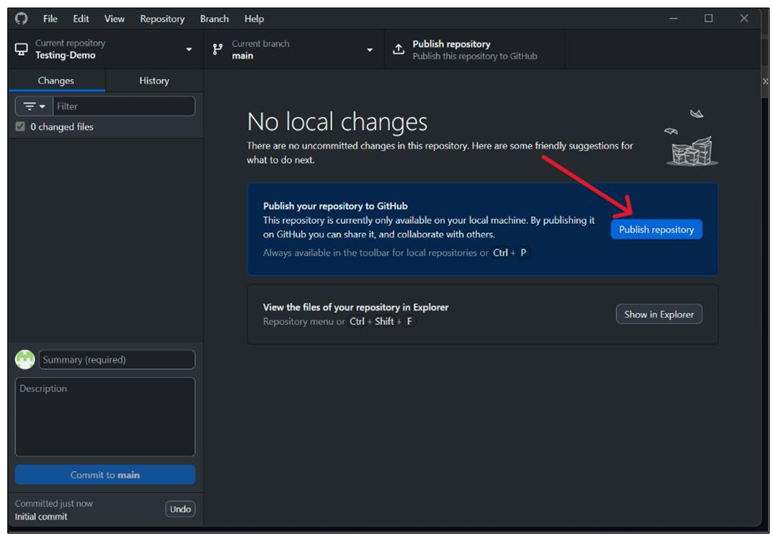
You can now: